Resellers are able to add their own Assets, Layouts or Widgets to the EngagePHD™ store. These can be added at no cost to all users, or billable. The reseller can filter to only allow their customers see the content or make it globally available for any EngagePHD™ to access.
As an EngagePHD™ reseller, you should see an icon on the bottom of your navigation bar, labelled as ‘Manage Store Items’. From here you can submit content to the Store for all of your customers to add to their network.

1) Click on the ‘Manage Store Items‘ icon.
2) Click ‘Add‘:

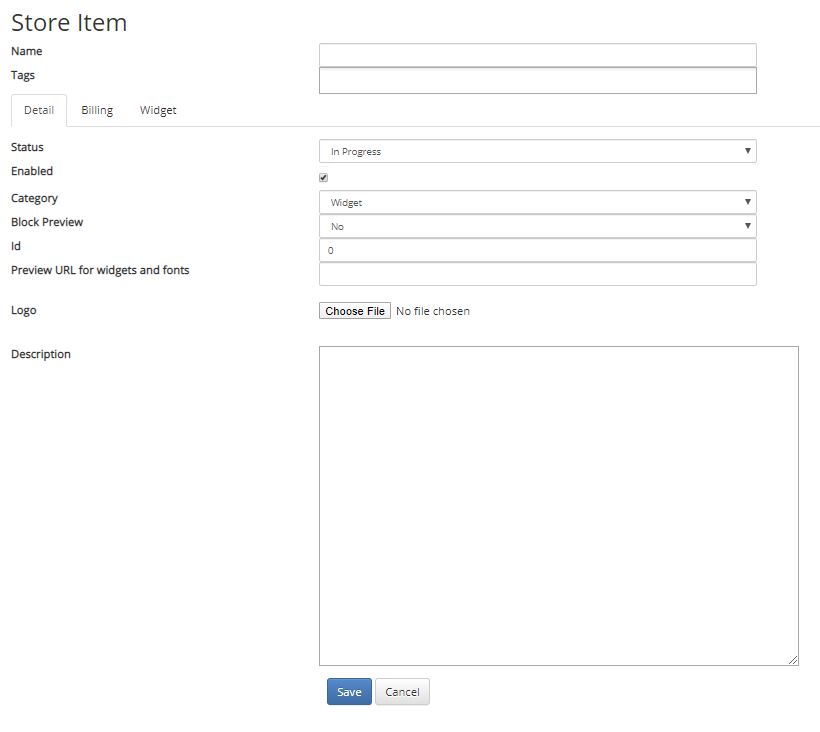
Detail tab
- Name – Provide a clear and meaningful name of how you would like the item to appear in the Store.
- Tags – Tags can be added to assist with search results.
- Status – The Status allows you indicate whether the item is ‘In progress’ or ready for ‘Submit for approval’. This will help the EngagePHD admin indicate the status of your Store item when you save it.
- Enabled – The ‘Enable‘ check box allows you to make the item inactive/active. Disabled items will no longer show in the Store.
- Category – Indicates the type of item you are adding.
- Block Preview – Blocks the preview from opening in a new tab when clicked from the Store.
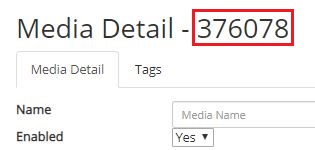
- Id – Images, Videos and Fonts can be added to an Asset Library on one of your networks. Each Asset has an Media Detail ID. This can be found by clicking on the Asset from the library. Copy and paste this in the ‘Id’ field. This is there location where the Store will copy your item from. It’s important to not delete these Assets when they are being used by the Store. Please note: Videos should be in MP4 format (click here to download and use the free HandBrake Encoder to optimize your video files before uploading them to the Store)
- Preview URL for widgets and fonts – Sample Layouts can be created on one of your networks and the preview of that Layout can be used to show an example of a widget or font.
- Logo – This creates a preview of the image or video you are adding to the Store. Click on the ‘Choose File‘ button to located the image or video on your computer. Videos should be in MP4 format (click here to download and use the free HandBrake Encoder to optimize your video files before uploading them to the Store) It’s recommended that you create the preview with a resolution of 1920×1080 or 1080×1920 (for portrait content).
- Description – An optional description can be added to explain the details of the item you are adding to the Store.
Billing tab
The ‘Billing‘ tab allows you to define whether or not your Store item is free or available for a fee. Use this tab to create your billing options, or leave blank if the item will be free of charge from the Store.

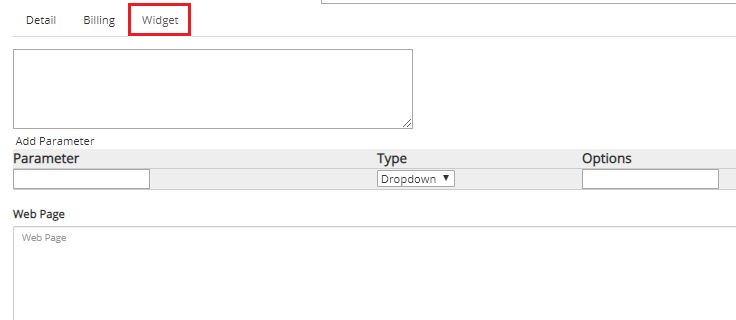
Widget tab
The ‘Widget‘ tab allows you to code your own widget.
3) Click ‘Save‘ when you are done setting up your Store item. New items will be submitted to an EngagePHD development representative for approval.
Click on the ‘Manage Store Items‘ icon on the navigation to add new items or manage existing items.